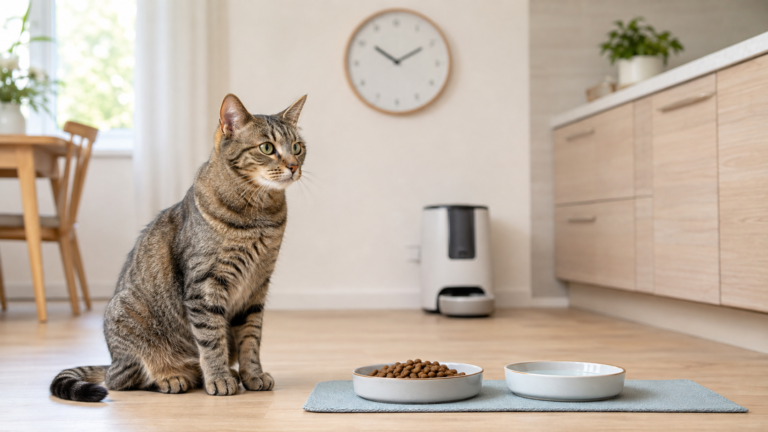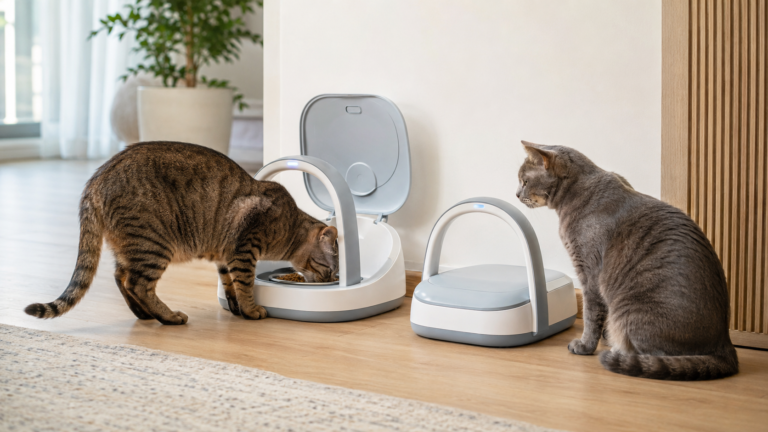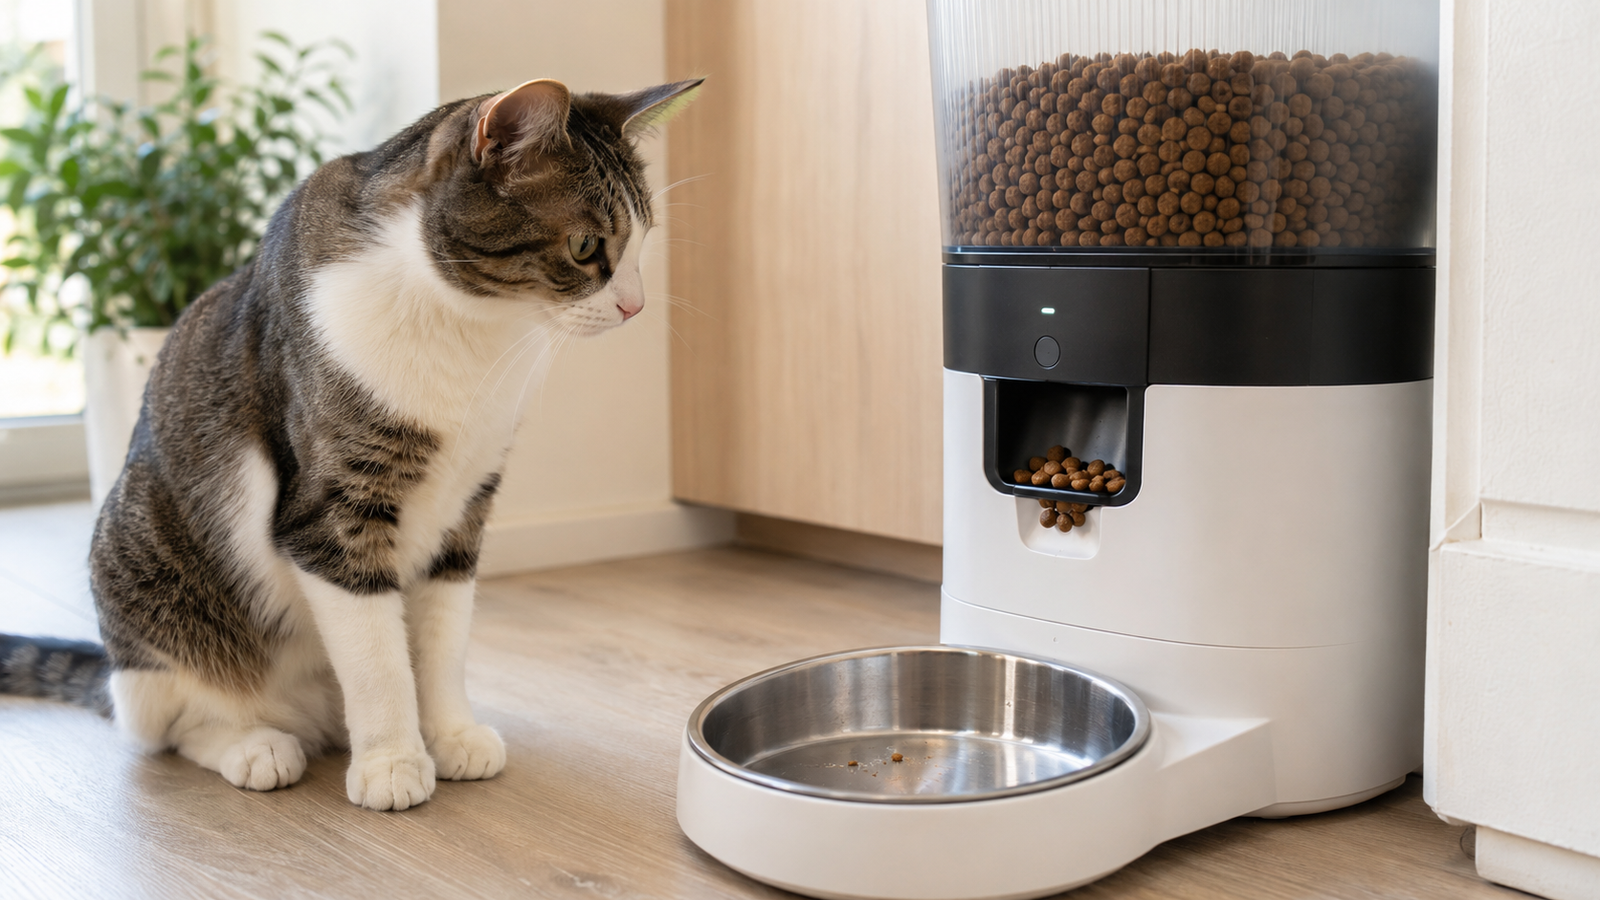
When an automatic pet feeder is not working or not dispensing food correctly, it can interrupt your cat’s or dog’s routine—and, if nobody notices, cause a missed meal. Fortunately, the feeder is not always broken. Common causes include an empty or poorly seated hopper, a food jam, incompatible kibble, incorrect schedule settings, weak batteries, a loose power connection, dirty dispensing parts, or an app connection problem.
Start with the simple checks: confirm that your pet has access to food and water, inspect the hopper, and press the manual feed button. That quick test helps separate a mechanical or power problem from a scheduling or app problem. If the feeder still does not work, follow the troubleshooting steps below in order.
If you are still deciding whether this type of device suits your household, our guide to whether automatic pet feeders are worth it explains their benefits, limitations, and suitability for different feeding routines.
Quick safety note: Until the problem is fixed and tested, feed your pet from a regular bowl. Do not rely on an unverified feeder while you are away. Contact your veterinarian promptly if your pet has missed meals and appears weak, is vomiting, seems unwell, or has a medical condition for which regular food intake is important.
Quick Answer: Why Is My Automatic Pet Feeder Not Dispensing Food?
Your automatic pet feeder may not be dispensing because the hopper is empty or improperly seated, kibble is jammed or too large for the mechanism, the outlet or bowl is blocked, the schedule or portion setting is wrong, the power supply or batteries are weak, or the app or Wi-Fi connection isn’t sending commands to the device. A manual feed test usually narrows down which of these applies. If your automatic pet feeder is not working at all—not just failing to dispense—start with the power checks below before moving to the schedule, app, or dispensing mechanism.
Key Takeaways
- Run a manual feed test first—it tells you whether the problem is mechanical/power-related or a scheduling/app issue.
- Most dispensing failures trace back to a food jam, incompatible kibble, an empty or misaligned hopper, or a settings mistake—not a broken motor.
- Always verify food in the bowl yourself. An app notification or a motor sound does not confirm your pet was actually fed.
- Unplug the feeder and remove batteries before reaching into the dispensing mechanism, and never lubricate or force food-contact parts.
- Persistent grinding, overheating, or failures that continue with approved kibble usually call for manufacturer support rather than a DIY repair.
Common Causes at a Glance
Your automatic pet feeder may not be dispensing because:
- The hopper is empty or not installed correctly.
- Kibble is bridging inside the hopper instead of falling into the rotor.
- Food is jammed in the chute, auger, conveyor, or rotating wheel.
- The kibble is too large, irregular, oily, moist, or crumbly for the feeder.
- The bowl or food outlet is blocked or misaligned.
- The feeding schedule, clock, time zone, AM/PM setting, or portion is wrong.
- The feeder has lost mains power, or its batteries are weak.
- The app, home Wi‑Fi connection, manufacturer’s cloud service, or feeder firmware is preventing a new command or schedule from reaching the feeder.
- A sensor, motor, gear, or other internal component has failed.
The best first test is to press Feed Now, Manual Feed, or the equivalent button on your model. If food dispenses manually but not at the programmed time, check the clock, schedule, app, and time zone. If the motor runs but no food appears, look for a jam or incompatible kibble. If nothing happens, inspect the power supply before suspecting an internal failure.
Automatic Feeder Troubleshooting at a Glance
Before You Troubleshoot: Protect Your Pet First
A feeder is a convenience device, not a substitute for checking that your pet actually ate. Before opening the machine:
- Put the expected meal in a normal bowl.
- Check whether your pet seems well and has access to fresh water.
- Review the feeder’s meal log or camera only as supporting information; confirm the bowl and food level in person whenever possible.
- If more than one pet uses the area, consider whether another animal ate the food after it was dispensed.
- Unplug the feeder and remove its batteries before reaching into the dispensing mechanism.
- Never put fingers or tools into a powered rotor, auger, conveyor, or food outlet. Do not wash the motor base or electrical contacts unless the manufacturer explicitly says those parts are washable.
Step-by-Step: How to Fix an Automatic Pet Feeder That Is Not Dispensing
1. Check the Hopper and Food Level
An apparently full hopper can still fail to feed the mechanism. Kibble may cling to the sides, form a hollow space above the outlet, or sit below the minimum level the rotor needs. The hopper can also be slightly out of position after refilling or cleaning.
Remove the hopper according to the manual and check that:
- There is enough food to reach the dispensing mechanism.
- The hopper, lid, and any locking tabs are seated correctly.
- No packaging, desiccant bag, foreign object, or large food fragment is blocking the opening.
- Kibble is not stuck against the hopper walls.
- A “low food” sensor, if fitted, is clean and unobstructed.
Reinstall the hopper securely, add a small quantity of food, and run a manual feed test. Some models must be primed after being emptied or refilled—this usually means running one or more manual feed cycles until kibble reaches the outlet. For example, PETLIBRO’s Air Automatic Feeder troubleshooting instructions include manual dispensing as part of its test procedure after checking and cleaning the food path. Follow your own model’s instructions rather than assuming every feeder uses the same priming procedure.
2. Run a Manual Feed Test
The manual feed test is the fastest diagnostic step because it narrows the fault:
- Food dispenses normally: The motor and basic food path probably work. Focus on the schedule, clock, portion settings, app, or time zone.
- The motor runs, clicks, or strains, but no food appears: A jam, blocked outlet, food-compatibility issue, or misaligned dispensing part is likely.
- The display is on, but the motor does nothing: Check child lock or button lock, low batteries, error indicators, and the manual. A motor, sensor, or control fault is also possible.
- The feeder is completely unresponsive: Start with the outlet, cable, adapter, batteries, and power switch.
Test with only a small amount of food while you observe the outlet. This reduces pressure on the mechanism and makes any blockage easier to clear.
3. Clear a Food Jam Safely
Kibble jams are among the most common automatic feeder problems. They occur when pieces become trapped in the food chute, rotor, auger, conveyor, or outlet. A jam may cause grinding, repeated clicking, a strained motor sound, partial portions, or a “meal served” notification with no food in the bowl.
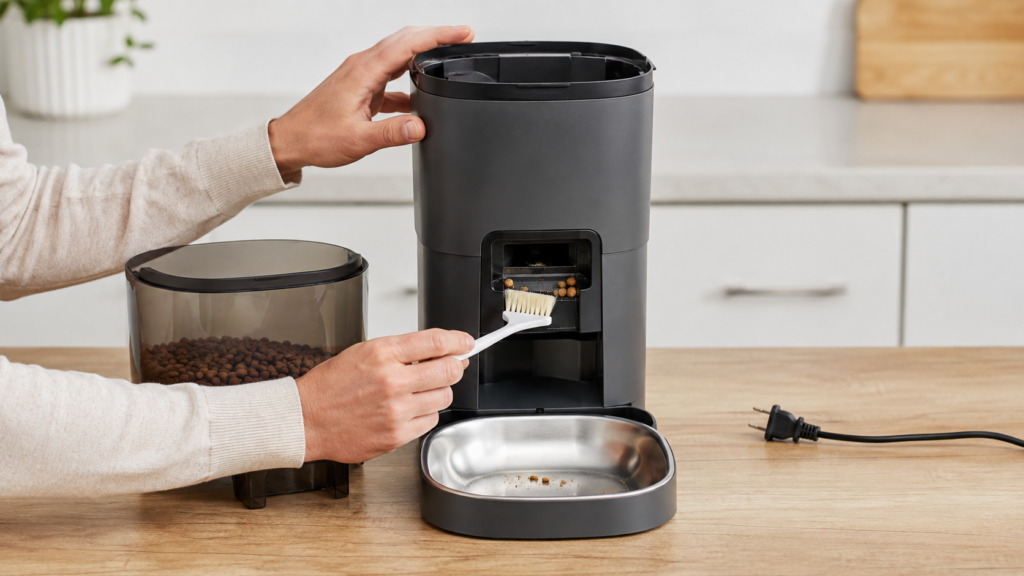
To clear a jam:
- Unplug the power adapter and remove the backup batteries.
- Empty the hopper into a clean, dry container.
- Remove only the parts the user manual identifies as removable.
- Inspect the hopper opening, rotor or impeller, chute, conveyor, outlet, and bowl area.
- Remove stuck kibble and crumbs with a dry, soft brush or cloth.
- Wash only parts designated as washable, using the manufacturer’s directions.
- Let every part dry completely before reassembly.
- Reassemble carefully, add a small amount of food, and perform several observed test feeds.
Do not force a stuck mechanism, lubricate food-contact parts, sand components, or open the motor housing. Those actions can create a food-safety or electrical risk and may void the warranty.
If the feeder keeps jamming after you clear it, look for the underlying cause rather than repeatedly removing the blockage. Common recurring causes include incompatible kibble size or shape, crumbs or oily residue in the food path, moisture, an overfilled or poorly seated hopper, or a dispensing component that was reassembled incorrectly.
4. Confirm That the Kibble Is Compatible
Dry-food feeders are usually designed for a specific range of kibble sizes and shapes. Food that is too large can lodge in the opening, while very small or broken pieces may dispense inconsistently. Flat, star-shaped, mixed-size, sticky, high-oil, semi-moist, freeze-dried, or unusually crumbly food can also interfere with smooth flow.
Check the manual or product support page for the permitted:
- Kibble diameter or dimensions
- Food shape and texture
- Dry, semi-moist, or wet food compatibility
- Maximum particle size
- Restrictions on treats or freeze-dried pieces
Do not apply one brand’s kibble range to another feeder—the accepted size varies by model and even by product line within the same brand. For example, PETLIBRO’s support instructions for its Air Automatic Feeder specify kibble measuring 2–15 mm. Always check the guidance for your specific model rather than treating any single figure as universal.
If the feeder works with a small batch of compatible, uniform dry kibble but jams with your usual food, the food–feeder combination is the likely cause. Choose a compatible formula only if it remains nutritionally appropriate for your pet; consult your veterinarian before changing a prescription or therapeutic diet.
5. Remove Moisture, Oil, and Kibble Dust
Oily coating, humidity, crumbs, and food dust can create sticky buildup inside the dispensing path. Moisture may also make kibble clump or swell. This can reduce food flow even when no single piece is visibly lodged.
Clean the hopper, rotor, chute, outlet, and bowl as directed by the manufacturer. Keep the feeder indoors in a dry location, away from steam, splashes, and direct heat. Store pet food according to its label and keep the feeder lid and seals properly fitted.
The FDA’s pet-food storage guidance also recommends washing and drying pet-food bowls and scooping utensils after each use, reinforcing the importance of keeping food-contact surfaces clean and dry.
For a complete maintenance routine, see our step-by-step guide on how to clean an automatic pet feeder.
Never place loose moisture absorbers where your pet can reach them or where they could fall into the food path. If the feeder has a built-in desiccant compartment, use only the type and placement approved for that model.
6. Inspect the Bowl, Outlet, and Sensors
Some feeders pause dispensing when the bowl appears full or when food is piled beneath the outlet. A misaligned bowl, dirty sensor, or feeder placed on an uneven surface can also affect detection or food flow.
Check that:
- The bowl is installed in the correct position.
- Food is not heaped against the outlet.
- The outlet flap moves as intended, if the model has one.
- Sensor windows are clean and dry.
- The feeder stands on a firm, level surface.
- The bowl has not been pushed out of position by your pet.
Do not cover or bypass a safety sensor. If it repeatedly gives a false warning after correct cleaning and placement, contact the manufacturer.
7. Check the Clock, Feeding Schedule, and Portion Setting
If manual feeding works, the feeder may be dispensing correctly—just at the wrong time or in an amount too small to notice. Review the complete schedule rather than changing only one setting.
Confirm:
- The feeder’s current date and time are correct.
- AM and PM are not reversed.
- The correct days of the week are selected.
- Each meal is enabled and saved.
- The portion is greater than zero.
- Vacation, sleep, pause, child-lock, or feeding-lock mode is not active.
- The time zone in the feeder app matches your location.
- The schedule was not lost after a power outage, reset, battery change, or app update.
If the feeder dispenses manually but misses programmed meals, review our guide to setting up an automatic pet feeder schedule to confirm the meal times and portion settings from the beginning.
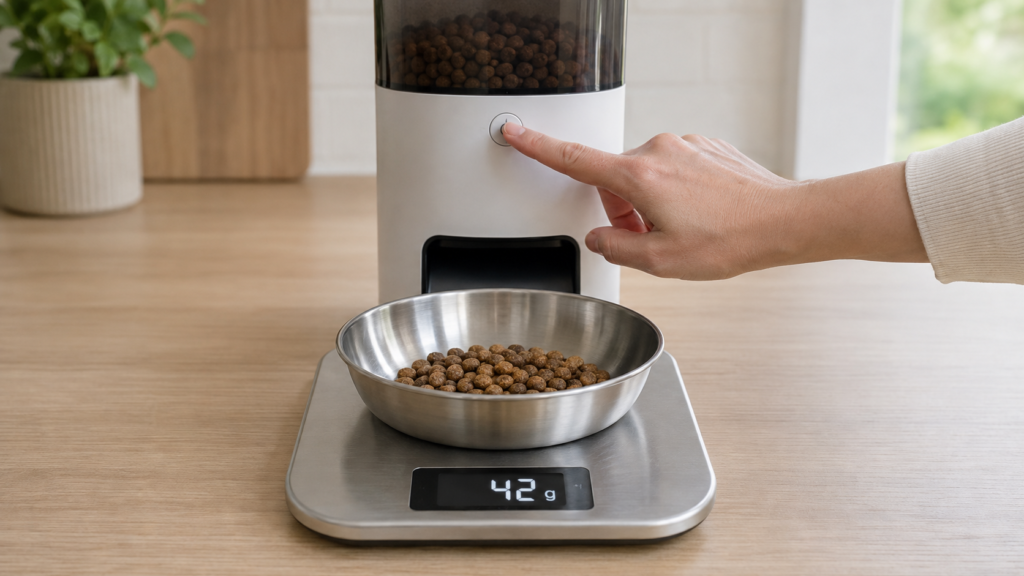
Some feeders describe output as “portions,” but one portion is not necessarily one cup, tablespoon, or fixed number of grams—kibble density and shape affect the amount delivered. Dispense several test meals into a bowl and weigh them on a digital kitchen scale, then calculate the average and compare it with your pet’s feeding plan. For weight management or a medical diet, ask your veterinarian for the appropriate daily amount.
For a more precise testing method, see our guide to how accurate automatic pet feeders are and how to test portion sizes.
8. If the Automatic Pet Feeder Is Not Working at All, Check the Power
A display or Wi-Fi light can sometimes operate even when weak batteries cannot reliably drive the motor. Likewise, a partially connected cable may cause intermittent resets or missed meals.
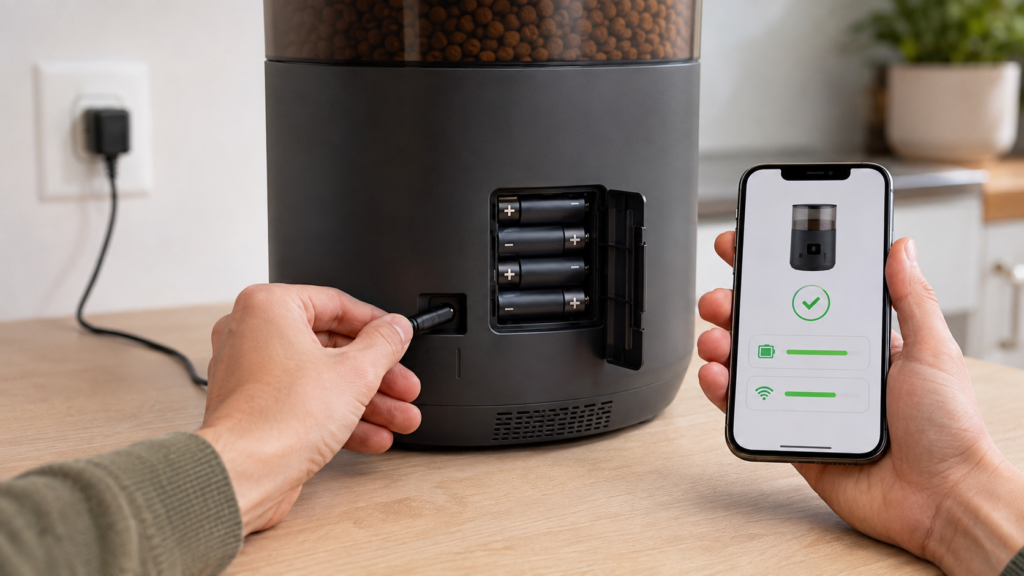
Work through these checks:
- Confirm the wall outlet works by testing it with another safe device.
- Reseat the feeder’s power connector and inspect the cable for damage.
- Use the original or manufacturer-approved adapter with the specified output.
- Replace disposable batteries as a complete set with the type specified in the manual.
- Do not mix old and new batteries or different battery chemistries.
- Check battery polarity and clean only accessible contacts as instructed.
- Look for low-battery warnings, flickering, spontaneous resets, or a weak motor sound.
Stop using the feeder if the adapter, plug, battery compartment, or base becomes unusually hot, smells burnt, shows corrosion, or has visible damage. If the problem started during a power or internet outage, see our guide to how automatic pet feeders work without Wi-Fi for more detail on offline schedules, backup power, and model-specific behavior.
9. Troubleshoot the App and Wi-Fi Connection
If your smart pet feeder is not working properly through the app, a Wi-Fi or service problem may prevent remote feeding, schedule changes, alerts, or accurate status updates. It doesn’t always mean the local schedule stops entirely—some models store schedules on the feeder itself, while others depend more heavily on an app or cloud service.
Before changing router settings or factory-resetting the feeder, check the manufacturer’s official service-status or support page. A cloud-service outage can interrupt app login, remote commands, notifications, device communication, and schedule changes even when your home internet and the feeder still have power. PETLIBRO documented this type of disruption during its August 2026 app and device-service outage.
If the manufacturer confirms an outage, avoid repeatedly resetting or re-pairing the feeder unless its support instructions recommend it. After service is restored, confirm that the feeder reconnects, verify every saved meal and portion, and perform both a manual feed test and a supervised scheduled test.
First, press the feeder’s physical manual feed button. If that works:
- Confirm in the app that the feeder is online.
- Check that your phone has internet access.
- Close and reopen the app.
- Install official app and feeder firmware updates.
- Verify the account, device permissions, notification settings, time zone, and saved schedule.
- Restart the feeder and router using the manufacturer’s recommended sequence.
- Move the feeder closer to the router for testing.
- Follow the manual’s pairing procedure if reconnection is needed.
Many smart home devices—including some feeders—use 2.4 GHz Wi-Fi during setup, but network requirements vary by model, so check your device’s specifications before changing router settings. If the feeder reports that a meal was completed, inspect the bowl anyway; a digital log cannot confirm that kibble physically reached the bowl or that the intended pet ate it.
10. Reset the Feeder—But Only After Recording Its Settings
A restart can clear a temporary error. A factory reset is more disruptive: it may erase feeding schedules, Wi-Fi credentials, recordings, or device associations.
Before resetting:
- Photograph or write down every mealtime and portion setting.
- Try a normal power cycle first, following the manual.
- Use the exact reset method for your model.
- Re-enter and save the schedule.
- Run multiple test meals and confirm the clock and time zone.
Avoid generic reset button combinations found online. Reset procedures differ between models, and an incorrect sequence may do nothing or alter settings unexpectedly.
11. Check for Misaligned Parts After Cleaning
If the feeder stopped dispensing immediately after cleaning, refilling, or moving, a component may have been reinstalled incorrectly. A rotor, conveyor, auger, hopper, lid, or bowl that looks almost correct may still fail to engage a drive shaft or sensor.
Disconnect power, compare the assembly with the manual, and check that all alignment marks, tabs, locks, and arrows match. Never force a part into position. PetSafe’s Smart Feed support guidance identifies low food, failure to prime after refilling, conveyor debris, and conveyor misalignment as possible causes of incorrect dispensing. Mechanisms differ across brands and models, so always match the troubleshooting steps to your particular feeder.
12. Recognize a Possible Motor, Gear, Sensor, or Control Failure
If the feeder displays an error code, warning light, or flashing indicator, record the exact code or light pattern before resetting the device. These indicators are model-specific, so check your feeder’s official manual or manufacturer support page rather than applying an error code from another brand or model.
After the food path, power, settings, and assembly have been checked, persistent failure may point to an internal fault. Warning signs include:
- No motor response despite reliable power and correct controls
- Repeated grinding or clicking after the chute has been cleared
- A rotor or conveyor that cannot complete a cycle
- Error codes that return after the prescribed reset
- Intermittent dispensing unrelated to the schedule or food
- Burning smell, overheating, damaged wiring, or liquid inside the base
Disconnect the feeder and contact the manufacturer with the model and serial number, proof of purchase, error code, app version, and a short video of the failed manual feed test. Do not open a sealed electrical or motor compartment unless the manufacturer specifically authorizes user service.
Why Is My Automatic Pet Feeder Dispensing Too Little or the Wrong Amount of Food?
A feeder that dispenses less than expected may have a low food level, food bridging above the rotor, residue in the conveyor, a partially blocked chute, a misaligned component, incompatible kibble, or a portion setting smaller than assumed.
Refill and prime the feeder if the manual requires it, clean and reassemble the food path, then weigh at least several test portions. Small cycle-to-cycle differences can occur because kibble pieces aren’t identical, but repeated large differences call for troubleshooting or manufacturer support. Base your pet’s intake on the measured total amount delivered—not the portion label alone.
Why Does My Automatic Pet Feeder Work Manually but Not on Schedule?
This pattern usually points away from a physical jam and toward control settings. Because the feeder can complete a manual dispensing cycle, focus next on the clock, saved schedule, time zone, app synchronization, and any pause or lock settings rather than repeatedly clearing the food path. Check the internal clock, AM/PM, selected days, time zone, enabled meals, portion value, lock or pause modes, and whether changes were actually saved. If the feeder uses an app, confirm whether the schedule is stored locally or must sync to the device.
Delete and recreate the affected meal only if the manual or support guidance recommends it. Afterwards, schedule a test meal a few minutes ahead and watch the feeder complete the cycle.
Why Does My Feeder Say Food Was Dispensed When the Bowl Is Empty?
Depending on the design, the message may confirm only that a command ran or the motor attempted a cycle—not that a measured amount of kibble actually reached the bowl. Treat the notification as a status message, not proof of successful food delivery. Inspect for a jam, empty hopper, blocked outlet, dirty or faulty sensor, or food piled under the chute. Test from the physical button and observe the complete dispensing path.
If the app repeatedly records successful meals that did not occur, document the problem and contact support. Until it’s resolved, don’t rely on app logs as the only evidence that your pet has been fed.
How to Prevent Future Dispensing Problems
Many recurring problems begin with a mismatch between the feeder, food, and household routine. If you are replacing an unreliable unit, review our guide to choosing the right automatic pet feeder before selecting another model.
- Use only the food type and kibble size approved for your model.
- Keep kibble dry and don’t put wet or semi-moist food in a dry-food feeder.
- Remove crumbs and oily residue on a schedule suited to the food and feeder.
- Periodically empty the hopper completely so you can inspect the bottom, food opening, and dispensing path instead of continually topping up old kibble.
- Dry washable parts completely before reassembly.
- Run a supervised manual feed test after cleaning or reassembling the dispensing mechanism.
- Keep the outlet and bowl clear and the feeder on a level surface.
- Inspect cables, batteries, seals, and removable parts regularly.
- Recheck the clock and schedule after an outage, reset, battery change, app update, or time change.
- Measure test portions whenever you change kibble, since shape and density can alter output.
- Keep backup batteries installed if the model supports them, and test the backup function.
- Observe several successful feed cycles before relying on the feeder during an absence.
- Arrange a human check-in and backup feeding plan when you travel.
If you plan to rely on an automatic feeder while you are away, see our guide to leaving a cat alone with an automatic feeder for supervision, backup-feeding, and vacation-planning considerations.
When to Stop Troubleshooting and Contact Support
Contact the manufacturer when:
- The feeder is under warranty.
- The same jam returns with approved kibble after correct cleaning and assembly.
- A motor, gear, drive shaft, sensor, or control board appears faulty.
- An error code remains after the manual’s recommended steps.
- Replacement parts or a model-specific calibration procedure are needed.
- The unit overheats, smells burnt, sparks, leaks into electrical areas, or has damaged wiring.
For any electrical danger, disconnect power and stop using the unit. Replacement is usually safer than an unauthorized internal repair.
Frequently Asked Questions
Why is my automatic pet feeder not working?
Start with a manual feed test. If nothing happens, check the outlet, power adapter, cable, batteries, and any lock mode. If the feeder works manually but misses scheduled meals, check the clock, time zone, saved schedule, and app synchronization. If the motor runs but no food comes out, inspect the hopper, kibble, chute, and dispensing mechanism for a blockage.
Can low batteries make the screen work but stop the feeder motor?
Yes. A low-power display doesn’t prove the batteries can supply enough current for the dispensing motor. Replace the full battery set with the specified type and test again.
Can I put wet food in an automatic dry-food feeder?
No, unless the manufacturer explicitly designed the model for wet or semi-moist food. Wet food can block a dry-food mechanism and create spoilage and hygiene risks. Use a feeder built to keep wet food safely stored for the intended period.
For more detail, see our guide to using wet food in an automatic pet feeder.
How do I know whether the kibble is too large?
Measure several of the largest pieces and compare them with the size range in your feeder’s manual. Also check shape and texture—long, flat, sticky, or irregular pieces may jam even when one dimension seems acceptable.
Why is my automatic cat feeder making noise but not dispensing?
Clicking, grinding, or a strained motor sound commonly indicates trapped kibble, a blocked chute, an overloaded mechanism, or a misaligned rotor or conveyor. Disconnect power before inspecting it. Persistent noise after clearing and correct reassembly may indicate gear or motor damage.
Will a smart feeder still dispense if Wi-Fi goes down?
It depends on the model. Some feeders store programmed schedules locally and continue feeding without Wi-Fi, while remote commands, alerts, logs, or schedule changes remain unavailable. Others may behave differently. Check the manual and test the behavior before depending on it.
How often should I clean the feeder?
Follow the manufacturer’s schedule and adjust for the type of food, residue, and your pet’s needs. Wash the bowl regularly and inspect the hopper and dispensing path for dust and oil. Wet-food contact parts generally require cleaning after use or as the manual directs. Never immerse the powered base.
Should I lubricate a squeaking auger or rotor?
Not unless the manufacturer supplies or specifically approves a food-safe lubricant and procedure. Household oils and sprays can contaminate food, attract debris, damage materials, or create an electrical risk.
Is it safe to leave my pet alone with an automatic feeder after repairing it?
Only after you’ve watched it complete multiple successful scheduled meals with the usual food, confirmed the portion output, and arranged a backup plan. A feeder should not be the sole safeguard for a pet during a long absence.
Final Thoughts
If your automatic pet feeder is not working or not dispensing food, start with a manual feed test. If it dispenses manually, check the schedule, clock, app, and connectivity; if the motor runs but no food comes out, check for a jam or incompatible kibble; and if the feeder is completely unresponsive, check the power supply and batteries first. Most routine problems come from a jam, residue, unsuitable kibble, a power issue, or an incorrect schedule. Persistent grinding, repeated errors, overheating, or failure with approved food calls for manufacturer support rather than a risky internal repair.
Most importantly, verify the result in the bowl. A lit display, app notification, or motor sound does not by itself prove that your pet received the correct meal.