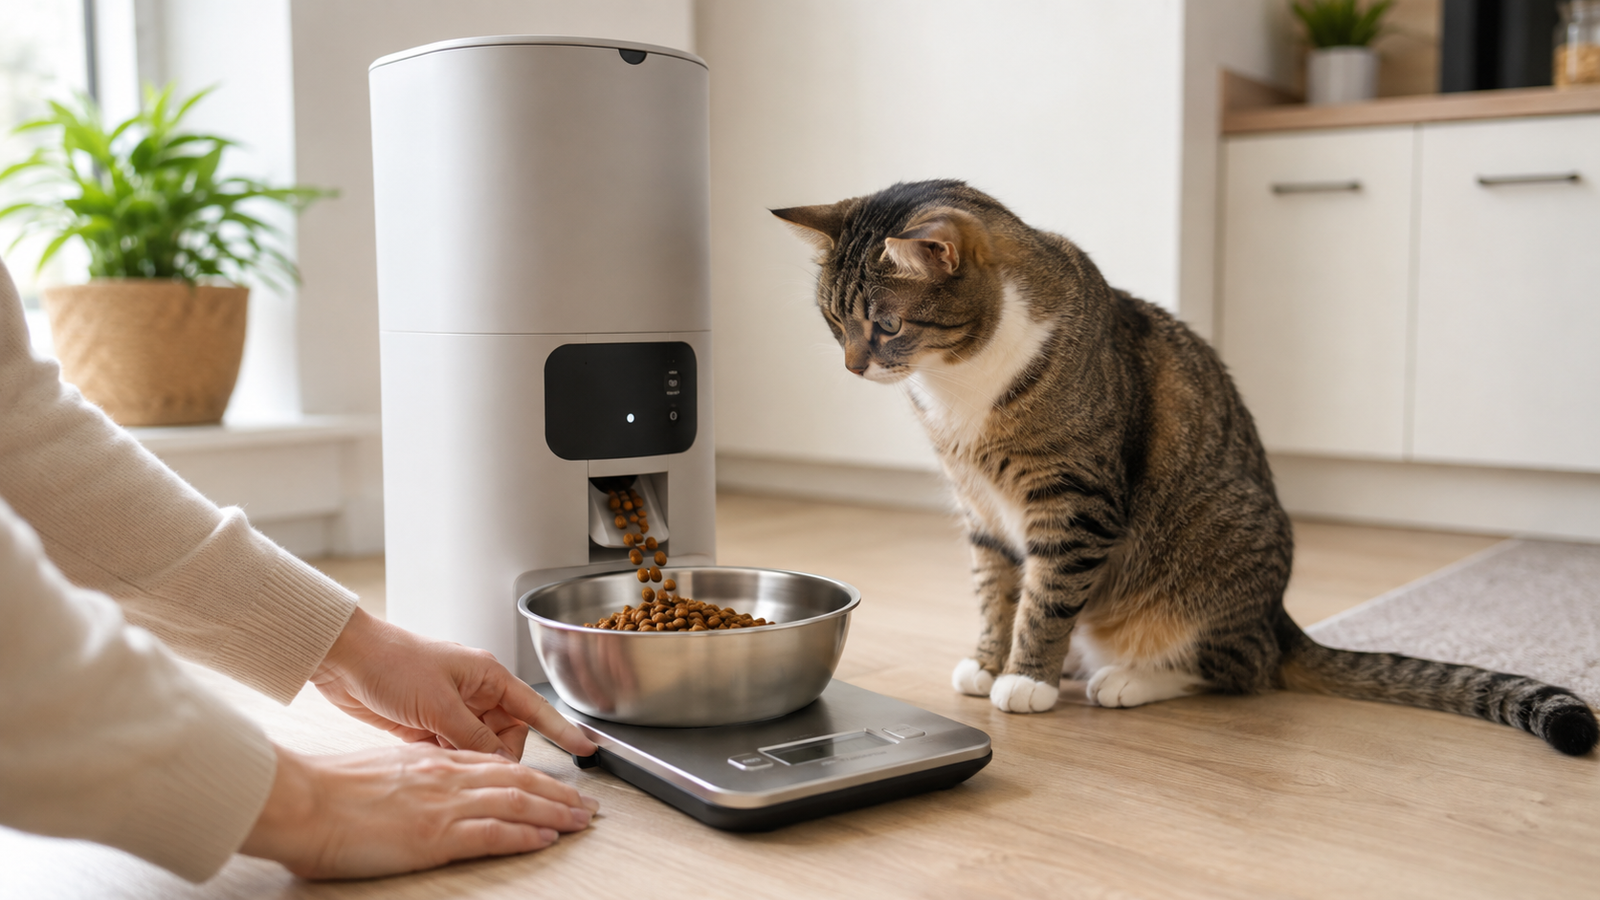
Automatic pet feeders are often marketed as convenient tools for scheduled meals and portion control. But there’s an important question behind those promises: Does the feeder actually dispense the quantity shown on its controls or in its app?
The answer depends on the feeder and the food inside it. Some newer models use built-in weighing systems, while many hopper-style feeders release food by rotating a wheel, rotor, or conveyor. On these models, one programmed “portion” may represent a movement of the dispensing mechanism—not an exact number of grams.
Kibble size, shape, density, crumbs, hopper level, and the feeder’s mechanical design can all affect the amount delivered. This means two foods may produce different weights even when the same portion setting is selected.
Fortunately, you don’t need specialist equipment to check automatic pet feeder portion accuracy yourself. A digital kitchen scale, your pet’s usual food, and a short series of controlled tests can show how much the feeder actually dispenses. You can then adjust its settings more accurately and repeat the test whenever the food changes.
If you’re still deciding whether this type of device suits your household, start with our broader guide to whether automatic pet feeders are worth it.
Quick Answer: How Accurate Are Automatic Pet Feeders?
Automatic pet feeders can provide reasonably consistent scheduled meals, but not every model dispenses an exact weight each time. Many feeders measure portions by volume or by rotations of an internal mechanism, so output can vary with the feeder’s design and the size, shape, density, and condition of the kibble. To check your feeder, weigh 5–10 dispensing cycles using your pet’s normal food, calculate the average, and adjust the programmed number of portions rather than your pet’s daily nutritional target.
Accuracy and consistency are not the same thing. Consistency means the feeder dispenses roughly the same amount from one cycle to the next. Accuracy means that measured output is close to the amount you intended to serve. A feeder could consistently dispense 12 g every time but still be inaccurate if you assumed its setting delivered 10 g.
Key Takeaways
- A “portion” on most hopper-style feeders is a volume-based mechanical movement, not a guaranteed weight—the two can drift apart depending on the food.
- Test accuracy yourself by weighing 5–10 dispensing cycles in grams with your pet’s actual food, then calculate the average and the range between the lowest and highest result.
- Adjust the number of programmed portions to hit your pet’s established daily target—never use the feeder’s math to redefine how much your pet should eat.
- Retest whenever you change kibble, clean or reassemble the feeder, or notice the output has changed, since even similar-looking foods can dispense at different weights.
- For weight management, diabetes, or a prescription diet, get the daily gram target from your veterinarian first and treat the feeder as a delivery tool, not a nutrition plan.
Why Portion Accuracy Matters
A small difference in one meal may seem unimportant. But repeated over several meals every day, it can change a pet’s total food intake.
Accurate portions are especially relevant for:
- Cats and small dogs that eat relatively small daily amounts
- Pets following a weight-management plan
- Households dividing food into several small meals
- Pets receiving prescription or calorie-controlled diets
- Homes where several people share feeding responsibilities
- Owners who rely on the feeder while working or away from home
An automatic feeder can improve consistency, but it can’t determine how much an individual pet should eat. Feeding-label directions provide a starting point, while age, size, activity, body condition, neuter status, health, treats, and other food sources can affect actual needs.
The World Small Animal Veterinary Association’s nutrition guidance notes that calorie recommendations are a starting point that may need adjustment as a pet’s weight and body condition are monitored over time. If your pet needs to lose or gain weight, has diabetes, or follows a therapeutic diet, get the daily feeding target from your veterinarian before programming the feeder.
How Much Is One Portion in an Automatic Cat Feeder?
The word “portion” isn’t standardized across automatic feeders. Depending on the model, one portion may mean:
One prefilled compartment in a rotating-tray feeder, where the amount served depends on how much food the owner places in that compartment.
PETLIBRO, for example, states that on several of its models, one portion is based on a rotor rotation and is determined by food volume rather than a guaranteed weight—and that actual output may change with the food’s size, shape, freshness, and thickness.
Other feeders describe servings in cups or milliliters. The PetSafe Smart Feed, for example, offers meal settings from 1/8 cup to 4 cups per feeding. These controls are helpful, but owners should still verify the real output using their pet’s food.
Don’t assume that “one portion” means one tablespoon, one ounce, or a fixed number of grams unless the manufacturer explicitly defines it that way for your model.
Why Automatic Feeder Portion Sizes Can Vary
Kibble size
Large pieces occupy the dispensing chamber differently from small pieces. Kibble that’s too large for the feeder may bridge over the outlet, move irregularly, or cause a partial blockage.
Manufacturer limits differ by model—PETLIBRO’s feeder support documentation, for instance, specifies supported kibble sizes for particular units. Check your own manual rather than applying another feeder’s size range to your machine.
Kibble shape
Round pieces may move through a rotor differently than flat, triangular, ring-shaped, or irregular pieces. Mixed shapes can also make one cycle fuller than another.
Food density
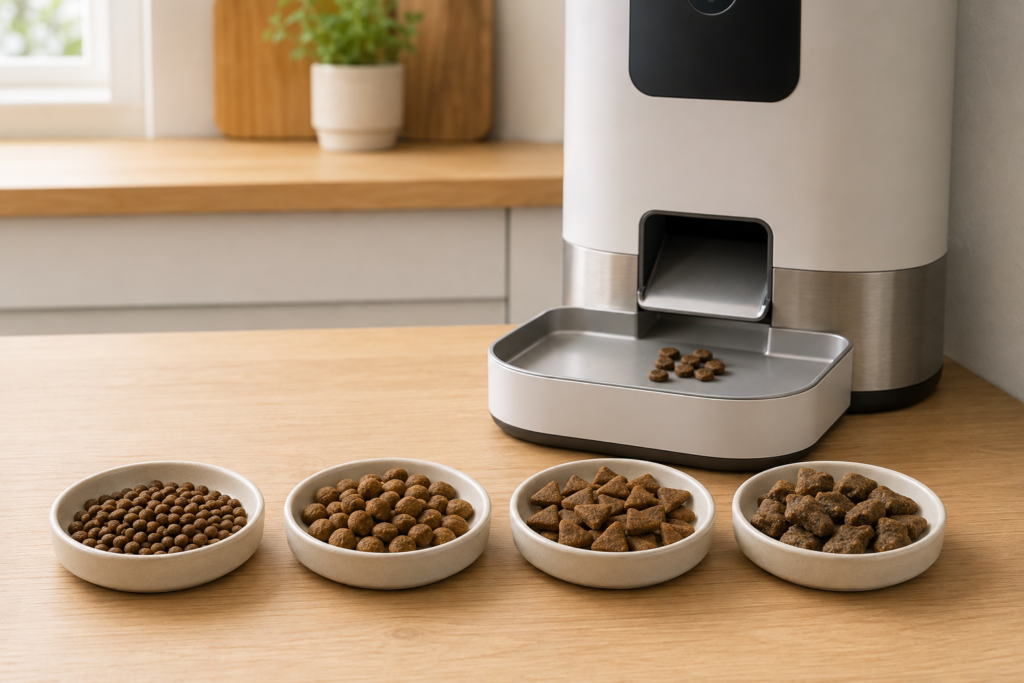
Two foods can fill the same space while weighing different amounts. A compact, dense kibble may weigh more per cup than a light or airy one, so changing food can alter the grams dispensed even when the feeder setting stays the same.
Crumbs and food dust
Crushed kibble and powder can collect around the rotor, conveyor, or chute. This can change food movement and sometimes contribute to partial portions or jams.
Hopper level
Some feeders behave slightly differently when the hopper is nearly empty versus packed full. Testing at a normal operating level gives a more useful result than testing with only a few pieces inside.
Internal design
Rotor, auger, conveyor, tray, and gravity-assisted systems don’t all dispense food the same way. A feeder with a load cell or bowl scale may measure output more directly, while a basic hopper feeder typically relies on a repeated mechanical movement.
Assembly and cleanliness
A misaligned rotor, an incorrectly installed food tank, damp kibble, a dirty outlet, or an improperly seated component can all affect dispensing. If portions suddenly change, inspect the unit before changing the feeding plan.
What You Need to Test Your Feeder
Gather the following:
- your automatic feeder
- The exact kibble normally used in it
- a digital kitchen scale that measures in grams
- a lightweight bowl or container
- a notebook, phone, or printed test table
- The feeder’s manual or official support instructions
Weighing food in grams gives a more precise, repeatable comparison than measuring by volume. The American Animal Hospital Association recommends weighing food with a gram scale to improve precision and accuracy compared with measuring cups. Grams are particularly useful for the smaller servings commonly fed to cats and small dogs.
How to Test Automatic Pet Feeder Portion Accuracy
Step 1: Read the model-specific instructions
Confirm:
- What the manufacturer means by one portion
- The supported food type and kibble size
- whether the mechanism must be primed
- whether a calibration or initialization function exists
- How to use manual feeding without changing the saved schedule
Don’t attempt to modify the motor, rotor, or firmware to create a smaller portion. The minimum amount may be limited by the feeder’s physical design.
Step 2: Use your pet’s normal kibble
Don’t test with a different food merely because it’s convenient—the goal is to measure the output your pet will actually receive.
If you’ve just changed food, mix or transition it only as recommended for your pet. Wait until the feeder contains the intended food before establishing the new portion setting.
Step 3: Fill the hopper to a normal level
Add enough food for repeated tests. Make sure the hopper, rotor, and outlet are correctly assembled and dry, and avoid overpacking the food.
If the manufacturer instructs you to prime the mechanism after filling or cleaning, complete that step before recording measurements. Priming cycles shouldn’t be counted as test results.
Step 4: Place an empty bowl on the scale
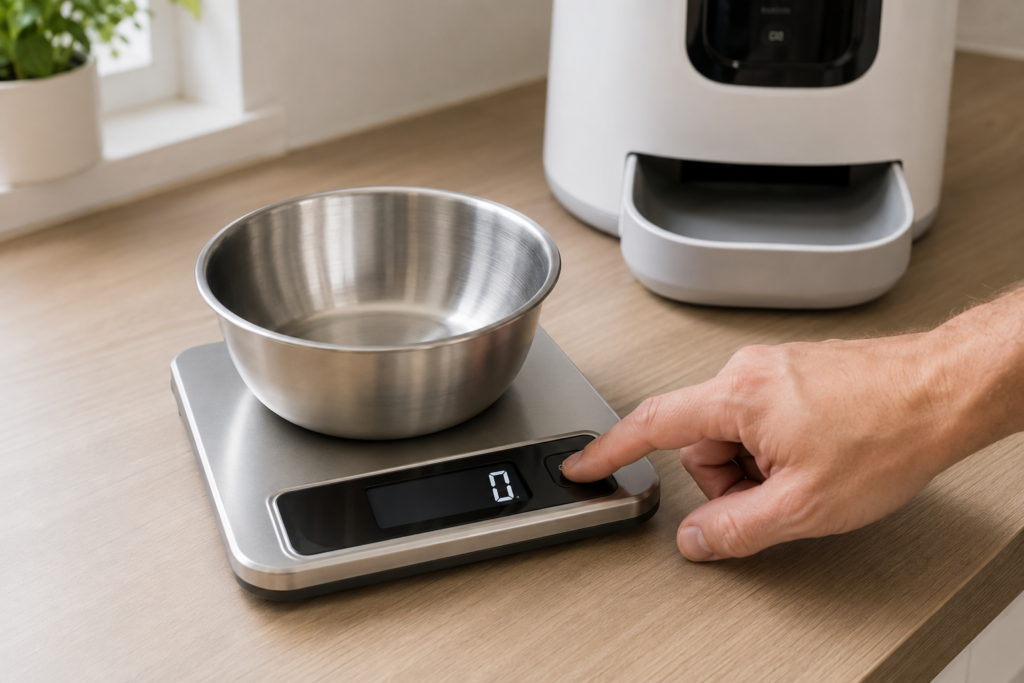
Set the scale to grams, place the empty bowl or container on it, and press the tare or zero button. The display should return to 0 g with the bowl still in place.
If the scale doesn’t have a tare function, record the empty bowl’s weight and subtract it from every measurement. Taring is simpler and reduces calculation errors.
Step 5: Dispense one programmed portion
Use the feeder’s manual-feed control to release one portion into the empty bowl and record the weight without adding or removing pieces.
Return that food to a separate clean container rather than immediately placing it back in the hopper. This prevents repeated handling from adding crumbs during the test.
Step 6: Repeat the test 5–10 times
Tare the empty bowl before every cycle and record each result separately. One test isn’t enough, since a single dispensing cycle may be unusually high or low.
A ten-cycle test gives a clearer picture, but five cycles can provide an initial check.
Step 7: Calculate the average output
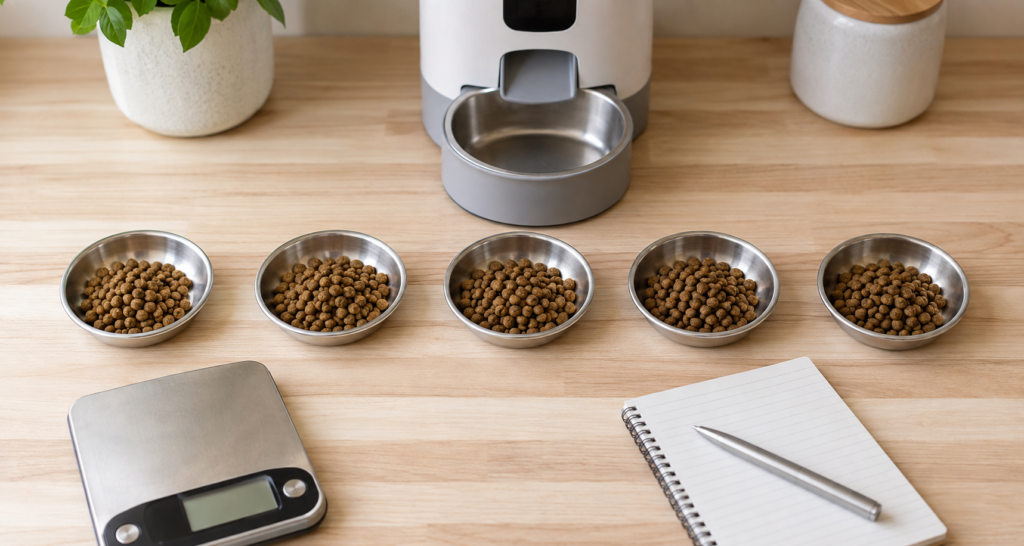
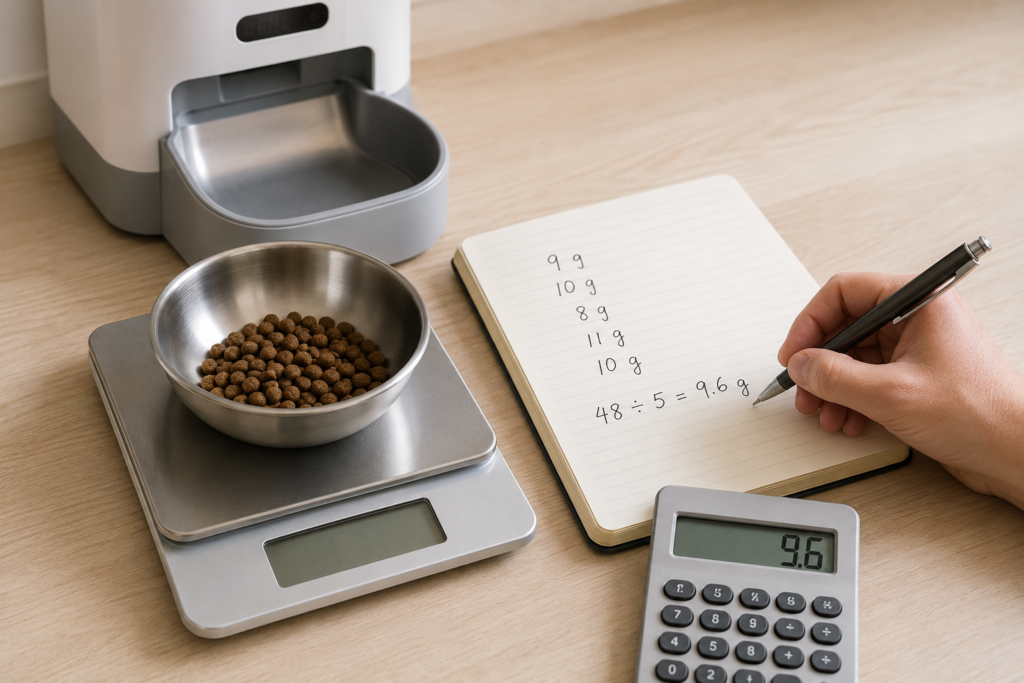
Add all measured weights and divide the total by the number of tests. For example:
- Test results: 9 g, 10 g, 8 g, 11 g, and 10 g
- Total: 48 g
- Number of tests: 5
- Average output: 48 ÷ 5 = 9.6 g per programmed portion
Also note the lowest and highest measurements. The average tells you the typical output, while the range shows how much individual servings vary.
The average alone can hide inconsistent dispensing. For example, two feeders might both average 10 g per portion, but one may repeatedly dispense 9–11 g while another ranges from 5–15 g. The first is much more consistent even though both have the same average.
Step 8: Test the complete programmed meal
If a scheduled meal uses three feeder portions, don’t rely solely on one-portion testing. Program or manually dispense the complete three-portion meal several times and weigh each full serving.
Mechanical differences don’t always multiply perfectly, so testing the actual meal setting gives the most relevant result.
Step 9: Observe several real feeding cycles
After adjusting the settings, supervise the feeder through several scheduled meals. Confirm that it:
- Runs at the correct times
- Releases the expected amount
- Doesn’t leave food trapped in the chute
- Doesn’t allow your pet to pull out extra kibble
- Records the feeding correctly in the app, if applicable
Our guide to setting up an automatic pet feeder schedule explains how to verify meal timing, daily allowances, and complete feeding cycles before relying on the machine.
Automatic Feeder Portion-Testing Table
Use a table like this for each food and feeder setting:
| Test cycle | Programmed setting | Measured output (g) | Notes |
|---|---|---|---|
| 1 | 1 portion | ||
| 2 | 1 portion | ||
| 3 | 1 portion | ||
| 4 | 1 portion | ||
| 5 | 1 portion | ||
| 6 | 1 portion | ||
| 7 | 1 portion | ||
| 8 | 1 portion | ||
| 9 | 1 portion | ||
| 10 | 1 portion | ||
| Average | Total grams ÷ number of tests | ||
| Range | Lowest result to highest result |
When the feeder or food changes, start a new record rather than combining unlike results.
Automatic Cat Feeder Portions in Grams: How to Calculate Them
Once you know the average weight of one programmed portion, you can estimate how many feeder portions are needed for a meal:
Required meal weight ÷ average weight of one feeder portion = approximate number of feeder portions
Suppose your veterinarian or feeding plan specifies 30 g for one meal, and your test shows an average of 9.6 g per feeder portion:
30 ÷ 9.6 = 3.125 portions
If the machine accepts only whole-number settings, it can’t dispense exactly 3.125 portions. You’d need to select the closest practical setting and review the total amount provided across the day. Don’t compensate by making repeated large changes without monitoring your pet’s overall intake and body condition.
This calculation determines the feeder setting needed to approach an already-established meal weight—it doesn’t determine how many grams your pet should eat.
How to Adjust the Programmed Portion Size
If the feeder consistently dispenses more or less than expected:
- Confirm the correct daily food target.
- Use the measured average—not the amount advertised for a different kibble.
- Divide the daily allowance among the intended number of meals.
- Select the closest available feeder setting for each meal.
- Test the full meal output several times.
- Calculate the estimated total dispensed during the entire day.
- Include manually given food and treats in the overall plan.
- Monitor your pet’s weight and body condition.
Avoid changing the number of meals and the portion size at the same time unless there’s a clear reason. Changing one variable at a time makes it easier to identify what addressed the problem.
Can You Calibrate an Automatic Pet Feeder?
Some feeders include a calibration, initialization, or built-in weighing function. Others don’t.
There are two different types of calibration to understand. Hardware calibration adjusts or initializes a feeder’s built-in scale or load cell when the model supports one. Practical portion calibration means weighing the food a mechanical feeder actually dispenses and then adjusting the programmed number of portions to reach the desired meal amount.
On many basic hopper feeders, you can’t change the physical volume released by one rotor movement. In that situation, “calibration” really means measuring the real output and adjusting the number of programmed portions to reach the closest suitable meal amount.
PETLIBRO’s support documentation for one camera-feeder model states that the dispensing amount can’t be internally recalibrated because the unit doesn’t contain a load cell, and it advises users to account for variation caused by food size and volume.
Never assume that instructions for one product apply to another. Use the official manual or support page for your exact model.
What Is an Acceptable Amount of Variation?
There’s no single percentage that can be declared acceptable for every automatic feeder, food, pet, and medical situation. Consider:
- The manufacturer’s stated tolerance for the exact model
- The size of the individual meal
- The variation across repeated tests
- The pet’s total daily intake
- Whether the pet has a medical or weight-management requirement
- Whether high and low servings balance out or show a consistent bias
A few grams may be a small difference for a large dog but a meaningful share of a small cat’s meal, which is why universal accuracy claims can be misleading.
If the results vary widely, portions are frequently incomplete, or the average changes suddenly, investigate the feeder rather than simply accepting the difference.
What to Do When Portions Are Inconsistent
Confirm that the food is compatible. Compare the kibble with the manufacturer’s permitted size and type. Avoid damp, sticky, excessively oily, irregular, or oversized pieces unless the feeder specifically supports them.
Remove crumbs and inspect the outlet. Disconnect the feeder as directed in its manual and inspect the food path. Clean removable parts and make sure they’re completely dry before reassembly. Our automatic pet feeder cleaning guide explains how to clean food-contact components without immersing the electronic base.
Check the assembly. Make sure the hopper, rotor, lid, bowl, and outlet are correctly seated. A component that shifted after cleaning may affect dispensing.
Check for a partial jam. A feeder may run and make its usual sound while releasing only part of the expected meal. If food is sticking or the motor sounds strained, follow our guide to fixing an automatic feeder that isn’t dispensing properly.
Repeat the test. After cleaning or correcting the assembly, repeat the same 5–10-cycle test. Don’t compare a single new result with an earlier ten-cycle average.
Contact the manufacturer. If the output remains highly inconsistent, provide support with:
- the model and serial number
- the food brand and kibble dimensions
- the programmed setting
- your individual test results
- photos or a short video of the dispensing cycle
- any error messages or unusual sounds
The manufacturer can confirm whether the variation is expected, whether a reset is appropriate, or whether the unit may be faulty.
Retest Whenever You Change Kibble
Don’t carry an old conversion forward after switching food. Even when two dry foods look similar, their dimensions, density, surface coating, and calorie content may differ, so the same feeder setting can deliver a different weight and a different number of calories.
After changing food:
- Confirm that the new kibble is compatible with the feeder
- Complete the dietary transition appropriate for your pet
- Run a fresh portion-accuracy test
- Check the new food’s calories per gram or cup
- Update the programmed portions if necessary
- Monitor the first several scheduled meals
The WSAVA’s pet-food selection guidance highlights that having accurate information about a food’s calories per gram or serving can help prevent unintended overfeeding.
Also retest after removing and reinstalling dispensing components during deep cleaning, because reassembly can sometimes change how food moves through the mechanism.
Special Care for Weight Management and Medical Diets
Automatic portion control can support a veterinary feeding plan, but the device is not a medical decision-maker.
Speak with your veterinarian before relying on feeder calculations when your pet:
- is underweight or overweight
- has diabetes or another condition affected by meal timing
- eats a prescription diet
- requires medication with food
- has recently experienced appetite or weight changes
- must eat reliably at specific times
For these pets, ask whether the daily amount should be recorded in grams and how often weight and body condition should be reassessed. If timing is medically important, keep an alternative feeding arrangement in case of a jam, power failure, or device fault.
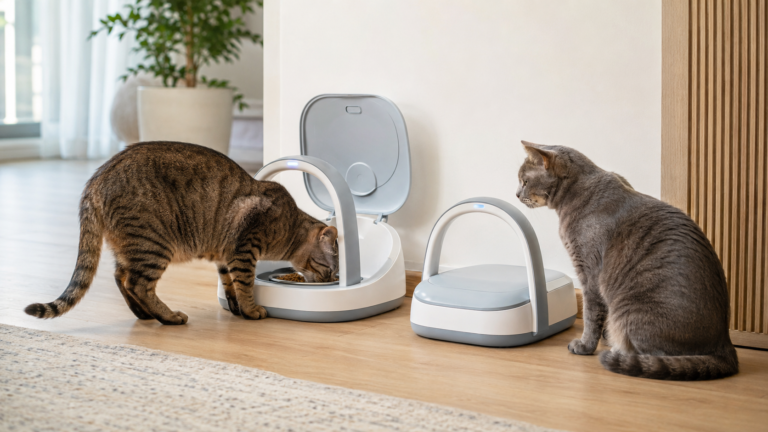
In a multi-cat household, accurate feeder output doesn’t prove that each cat consumed the intended amount—one cat may visit both bowls or displace another. Our guide to using automatic feeders for multiple cats explains when separate, microchip-controlled, or RFID-controlled feeding stations may be more appropriate.
Common Portion-Testing Mistakes
Avoid these errors:
- Testing only one dispensing cycle
- Measuring with unfamiliar food instead of the kibble normally used
- Assuming the displayed “portion” is a fixed weight
- Forgetting to tare the bowl
- Mixing cup, ounce, milliliter, and gram measurements
- Counting priming cycles as normal portions
- Testing with an almost-empty or improperly assembled hopper
- Returning crushed test food to the hopper repeatedly
- Changing food without retesting
- Adjusting a medically prescribed diet without veterinary guidance
- Assuming a successful app command proves the full meal reached the bowl
Frequently Asked Questions
Are automatic cat feeders accurate?
Automatic cat feeders can be reasonably consistent, but portion accuracy depends on the feeder design and the food being dispensed. Many models release food by volume or rotor movement rather than weighing every serving, so kibble size, shape, density, and condition can affect the actual grams delivered. Test 5–10 cycles with your cat’s normal kibble and weigh the results rather than assuming the programmed portion equals a fixed weight.
How many times should I test an automatic feeder portion?
Test at least five cycles for an initial check; ten separate cycles give a clearer average and variation range. Also test the complete meal setting rather than only one unit of food.
Should I measure automatic feeder portions in cups or grams?
Grams usually give a more precise way to compare repeated servings, especially for cats and small dogs. You may still need cups or milliliters when reading the manufacturer’s controls, but weigh the dispensed food to learn its actual output.
Why is my automatic feeder dispensing too much food?
Possible causes include misunderstanding the feeder’s portion unit, selecting multiple portions per meal, using a denser or smaller kibble, duplicated schedules, an extra manual feeding, or an incorrectly configured app. Review the schedule and weigh repeated cycles before changing the daily plan.
Why does the same setting produce different weights?
Kibble pieces don’t always fill the dispensing chamber identically. Size, shape, density, crumbs, hopper level, food condition, and the feeder mechanism can all contribute to variation.
Can I make the feeder dispense less than its minimum portion?
Usually not, if the minimum is determined by the rotor or conveyor’s physical design—a firmware setting can’t necessarily make the mechanical chamber smaller. If the minimum serving is too large, you may need fewer meals, a different feeder design, or veterinarian-guided manual supplementation. Our guide to choosing the right automatic pet feeder explains which portion-control and food-compatibility features deserve attention.
Does a feeder with a built-in scale guarantee perfect portions?
No device should be assumed perfect. A built-in scale can measure output more directly, but correct setup, a level surface, clean components, software settings, and manufacturer specifications still matter. Periodic external checks remain sensible.
Do I need to retest after refilling the same food?
A complete retest isn’t necessary after every routine refill if the food, feeder, and performance remain unchanged. Retest when you change kibble, clean or reassemble the mechanism, notice unusual output, install an update that affects feeding controls, or suspect your pet is receiving too much or too little.
Can accurate feeder portions help prevent overfeeding?
They can support consistent servings, but only when the programmed total matches the pet’s appropriate daily intake. Treats, manual meals, food stolen from other pets, and inaccurate calorie assumptions can still cause overfeeding.
Final Recap
Automatic feeders can make meal timing more consistent, but the number shown in an app or control panel doesn’t always equal an exact weight of food. On many hopper-style feeders, one portion represents a mechanical movement or approximate volume, and actual output can change with kibble size, shape, density, freshness, and the feeder’s condition.
The most reliable approach is simple: use your pet’s normal food, weigh 5–10 dispensing cycles in grams, calculate the average, record the variation range, and then test the full programmed meal. Repeat the process whenever you change food or notice a change in performance.
Use the results to adjust the feeder—not to invent your pet’s nutritional target. When weight management, diabetes, prescription food, medication, or another health concern is involved, establish the appropriate daily intake with your veterinarian first.
A tested feeder, correctly programmed and regularly monitored, is far more dependable than one used according to assumptions alone.